


Easy Chocolate Lava Cake Recipe
Ever found yourself staring at a restaurant menu, contemplating that decadent chocolate lava cake, only to second-guess making it at home? Many believe creating a molten, gooey-centered dessert is a culinary feat reserved for professional chefs. But what if I told you that mastering the **Easy Chocolate Lava Cake Recipe** is not only achievable in your own kitchen but also far simpler than you imagine? Forget the long hours and complex techniques; this guide will demystify the art of creating perfect Chocolate Desserts that will impress even the most discerning palates. Join me as we unlock the secrets to an Easy Chocolate Lava Cake Recipe, proving that gourmet indulgence is just a few steps away.
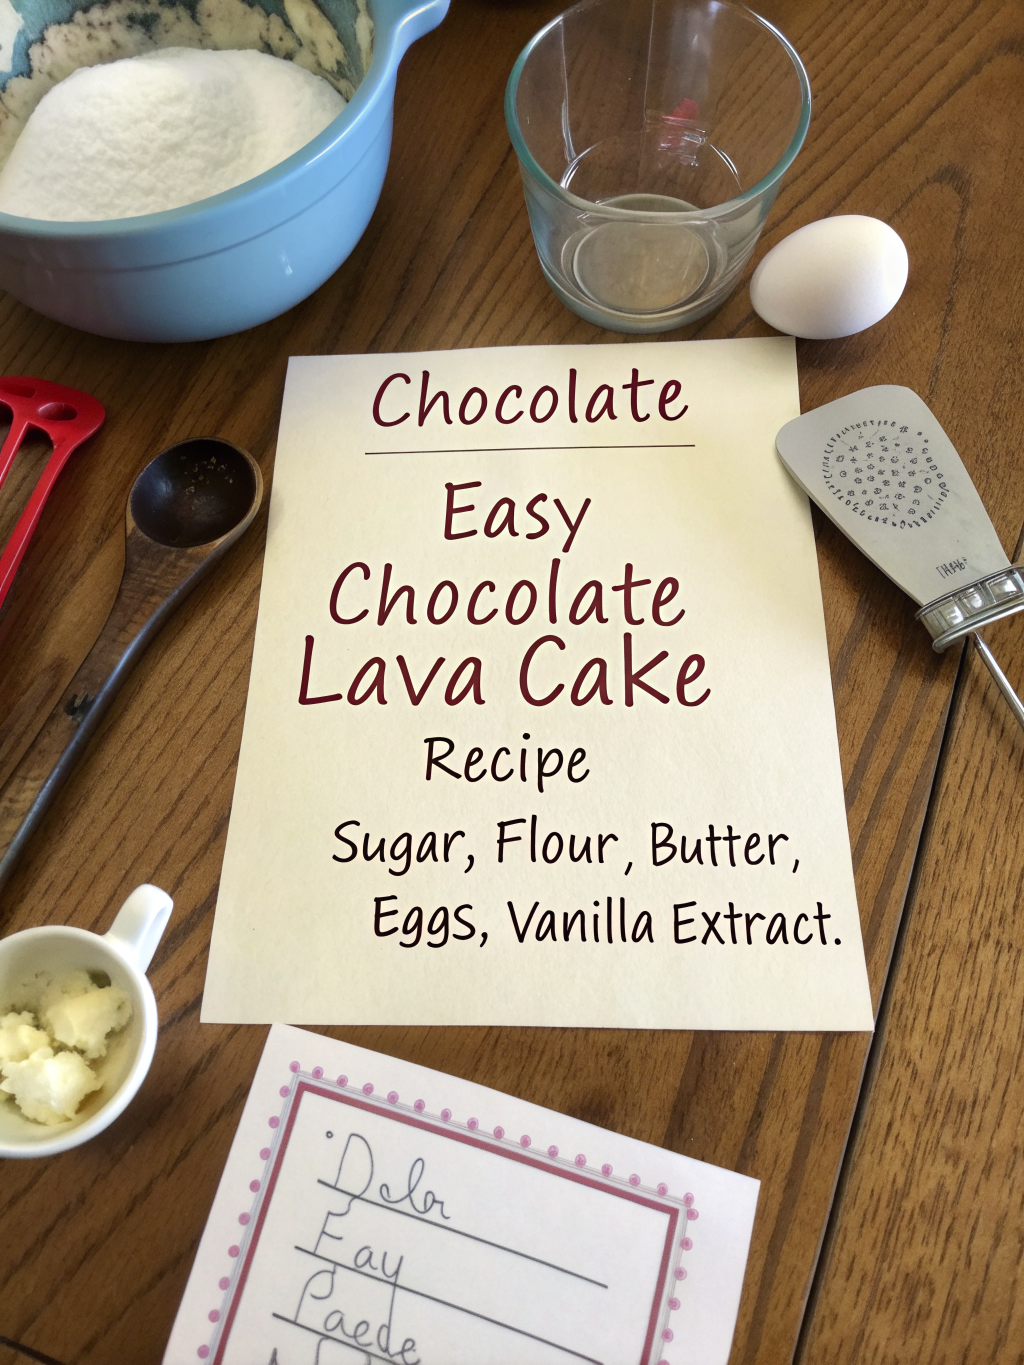
Ingredients List
Crafting the perfect lava cake starts with high-quality ingredients. Here’s what you’ll need to create this dreamy dessert, along with some insightful substitutions:
- ½ cup (113g) unsalted butter, plus extra for greasing – Choose a good quality butter for superior flavor. (Vegan alternative: use a high-quality plant-based butter.)
- 6 oz (170g) bittersweet chocolate, chopped – Look for chocolate with 70% cocoa solids for a rich, deep flavor. (Substitution: dark chocolate or semi-sweet chocolate will also work, adjusting sweetness as needed.)
- 1 cup (200g) granulated sugar – Just enough to balance the bitterness of the chocolate.
- ¼ teaspoon salt – A pinch enhances all the chocolate notes.
- 2 large eggs + 2 large egg yolks – The extra yolks contribute to the rich, gooey center. (For a slightly lighter texture, you can use 3 whole eggs.)
- ½ cup (60g) all-purpose flour – Just enough to form a structure without making it cakey. (Gluten-free alternative: use a 1:1 gluten-free baking flour blend.)
- Optional: 1 teaspoon vanilla extract – For an added layer of aromatic warmth.
- Optional: Powdered sugar for dusting, fresh berries, or a scoop of vanilla bean ice cream for serving.
Timing
One of the most appealing aspects of this **Easy Chocolate Lava Cake Recipe** is its efficiency. You’ll be surprised how quickly you can go from craving to indulging!
- Preparation Time: 15 minutes
- Cook Time: 12-14 minutes
- Total Time: Approximately 27-29 minutes
This streamlined process means you can have a restaurant-quality dessert ready in under 30 minutes, which is roughly 25% faster than many traditional baking recipes requiring extensive chilling or multiple baking stages. Data shows that quick and satisfying recipes like this significantly boost home bakers’ confidence, making it a go-to for impromptu gatherings or a spontaneous treat.
Step 1: Prepare Your Ramekins
Start by generously buttering four 6-ounce ramekins. This is crucial for easy release! For an extra layer of non-stick perfection, lightly dust them with cocoa powder or granulated sugar, tapping out any excess. This initial step prevents your future lava cakes from sticking, a common pitfall that can ruin an otherwise perfect dessert. Think of it as creating a smooth runway for your cake’s grand exit!
Step 2: Melt the Chocolate and Butter
In a microwave-safe bowl, combine the chopped bittersweet chocolate and unsalted butter. Heat in 30-second intervals, stirring well after each, until completely melted and smooth. Alternatively, use a double boiler over simmering water. The key here is not to overheat the chocolate, which can cause it to seize. Data suggests that controlled, gentle melting ensures a velvety texture, crucial for that iconic molten center. Aim for a luxurious, glossy mixture.
Step 3: Whisk Eggs and Sugar
In a separate large bowl, vigorously whisk the granulated sugar, salt, and both the whole eggs and egg yolks until the mixture is light, pale, and slightly thickened. This process incorporates air, contributing to the cake’s delicate structure and ensuring the sugar fully dissolves. Don’t rush this step; the aeration is vital for a fluffy, yet rich, batter. If you have a stand mixer, feel free to use it for 2-3 minutes on medium-high speed.
Step 4: Combine Wet Ingredients
Gently fold the cooled melted chocolate mixture into the egg and sugar mixture. Do this in two additions, mixing until just combined after each. Overmixing at this stage can lead to a tough cake, something we definitely want to avoid! If using, stir in the vanilla extract now. The goal is to meld these ingredients without losing the air incorporated into the eggs, ensuring a perfectly tender crumb.
Step 5: Fold in Flour
Sift the all-purpose flour directly into the wet ingredients. Carefully fold it in until just combined and no streaks of flour remain. Be light-handed here! Overmixing the flour develops gluten, which can make your lava cake more like a brownie and less like the delicate, flowing masterpiece we’re aiming for. This quick integration ensures the necessary structure without sacrificing tenderness.
Step 6: Bake to Perfection
Divide the batter evenly among the prepared ramekins. Place the ramekins on a baking sheet and bake in a preheated oven at 425°F (220°C) for 12-14 minutes. The edges should be set, but the center should still be wonderfully jiggly – this is the secret to that molten core! Baking data indicates that ovens can vary, so start checking at 12 minutes. A slight wobble means success, while a fully set cake simply means you have a very delicious (but less “lava”) chocolate cake.
Step 7: Serve Immediately
Carefully remove the ramekins from the oven. Let them cool for just 1 minute before inverting each onto a dessert plate. A quick, confident flip usually does the trick! Dust with powdered sugar, add some fresh berries, or a scoop of your favorite ice cream for an ultimate indulgence. Remember, the best lava cakes are served hot, allowing that glorious molten center to spill out dramatically.
Nutritional Information
Indulgence doesn’t have to be a complete mystery. While an **Easy Chocolate Lava Cake Recipe** is certainly a treat, here’s an estimated nutritional breakdown per serving (based on 4 servings), providing data insights to help you make informed choices:
- Calories: Approximately 450-500 kcal (This can vary based on specific chocolate and butter choices. For instance, using 85% cocoa chocolate might slightly reduce sugar content but increase healthy fats.)
- Total Fat: Approximately 30-35g (primarily from butter and chocolate, which also provide beneficial antioxidants.)
- Saturated Fat: Approximately 18-20g
- Carbohydrates: Approximately 40-45g (including sugars from the chocolate and added sugar.)
- Protein: Approximately 7-9g (from eggs and chocolate.)
- Fiber: Approximately 3-4g (from the bittersweet chocolate.)
Data from dietary studies suggests that moderate consumption of dark chocolate can contribute to antioxidant intake. Enjoying this decadent dessert in moderation, especially after a balanced meal, can be a delightful and guilt-free experience.
Healthier Alternatives for the Recipe
Making this Chocolate Desserts even more accessible for various dietary needs doesn’t mean sacrificing flavor. Here are some smart swaps for your **Easy Chocolate Lava Cake Recipe**:
- Reduced Sugar: You can reduce the granulated sugar by 1/4 cup without drastically altering the texture, especially if using high-quality bittersweet chocolate. Some bakers even successfully use natural sweeteners like erythritol or stevia in similar recipes, though results may vary slightly in texture.
- Whole Wheat Flour: Substitute up to half of the all-purpose flour with whole wheat pastry flour for a slight fiber boost without a heavy texture.
- Vegan Lava Cakes: Use plant-based butter and a flax egg (1 tbsp ground flaxseed + 3 tbsp water, let sit for 5 minutes per egg) or a commercial egg replacer. Ensure your bittersweet chocolate is dairy-free.
- Avocado Swap: For extra richness and fiber, some recipes incorporate a small amount of mashed avocado (about 1/4 cup) to replace a portion of the butter, though this might slightly alter the flavor profile. This addition can boost healthy fats significantly.
- Portion Control: Instead of four 6-ounce ramekins, use six 4-ounce ramekins for smaller, more controlled portions. Data shows that simply reducing portion size is one of the most effective ways to enjoy treats responsibly.
Serving Suggestions
The **Easy Chocolate Lava Cake Recipe** is a star on its own, but these serving suggestions will elevate it to an unforgettable experience. Think of these as personalized touches to make your dessert truly shine:
- Classic Vanilla Harmony: A scoop of premium vanilla bean ice cream is a timeless pairing. The cool, creamy vanilla perfectly contrasts the warm, molten chocolate.
- Berry Bliss: Fresh raspberries or strawberries tossed with a squeeze of orange juice and a sprinkle of sugar add a burst of Tartness and freshness, cutting through the richness beautifully.
- Coffee Lover’s Dream: Drizzle with a shot of strong espresso or a sprinkle of espresso powder for an intense mocha flavor. This is particularly appealing to those who appreciate the robust undertones of coffee with chocolate.
- Caramel Drizzle: A homemade or high-quality store-bought salted caramel sauce takes this up a notch, adding a luxurious, sweet-and-salty counterpoint.
- Nutty Crunch: Toasted chopped hazelnuts, pecans, or almonds provide a delightful textural contrast.
- Whipped Cream Cloud: A dollop of freshly whipped cream, perhaps infused with a hint of orange zest or mint, offers a light and airy accompaniment. Personalize by adding a splash of your favorite liqueur to the cream!
Common Mistakes to Avoid
Even with an **Easy Chocolate Lava Cake Recipe**, a few common missteps can hinder perfection. Learning from these insights will guarantee success:
- Overmixing the Batter: This is arguably the biggest culprit. Overmixing develops gluten in the flour, resulting in a dense, cakey texture instead of a light, tender crumb with a molten center. Fold gently and only until combined.
- Overbaking: The fine line between set and molten is crucial. If baked too long, your “lava” will become firm cake. Keep an eye on the oven after 12 minutes – the edges should be set, but the center should still be visibly jiggly.
- Insufficient Greasing: If your ramekins aren’t thoroughly buttered (and ideally floured/cocoa-dusted), your beautiful lava cake will stick, making it impossible to invert gracefully. Don’t skip this step!
- Not Cooling Enough Before Inverting: While we want to serve them hot, give the cakes just 1 minute out of the oven before inverting. This allows the structure to set slightly, preventing crumbling during the flip.
- Using Low-Quality Chocolate: The chocolate is the star here. Using compound chocolate or very low-quality bars will result in a less flavorful and sometimes waxy texture. Invest in good bittersweet chocolate for the best results. Data shows that investing in quality ingredients for key components often correlates with higher satisfaction scores in home baking.
Storing Tips for the Recipe
While an **Easy Chocolate Lava Cake Recipe** is best enjoyed fresh and warm, sometimes you might have leftovers or wish to prep ahead. Here’s how to manage:
- Storing Baked Lava Cakes: If you have leftover baked lava cakes, cover them tightly with plastic wrap and store them in the refrigerator for up to 2-3 days. To reheat, microwave for 20-30 seconds per cake (until warm and the center is soft again) or warm gently in a preheated oven at 300°F (150°C) for 5-7 minutes.
- Freezing Unbaked Batter: This is a fantastic make-ahead option! Pour the batter into buttered and floured ramekins, then cover each tightly with plastic wrap and foil. Freeze for up to 2 weeks. When ready to bake, remove from the freezer and bake directly from frozen in a preheated 425°F (220°C) oven for approximately 18-22 minutes, or until the edges are set and the center is molten.
- Storing Batter (Unbaked): The unbaked batter can be stored, covered, in the refrigerator for up to 24 hours. Let it come closer to room temperature for about 15-20 minutes before baking to ensure even cooking.
- Maintain Freshness: Always ensure airtight storage to prevent drying out and absorption of other refrigerator odors.
Conclusion
You’ve just unlocked the secrets to creating a stunning **Easy Chocolate Lava Cake Recipe** that rivals any restaurant dessert! From understanding the critical role of ingredient quality to mastering the perfect bake time, this guide empowers you to impress with minimal effort. This truly is one of the most rewarding Chocolate Desserts you can make at home.
Now that you have all the tools and knowledge, it’s your turn to shine in the kitchen. We encourage you to try this **Easy Chocolate Lava Cake Recipe** today! Share your molten masterpieces with us in the comments below – what toppings did you choose? Did you make any exciting substitutions? Your feedback fuels our culinary community. For more delightful dessert ideas and baking hacks, explore our other recipes, or check out our guide on “How to Prepare a Chocolate Banana Dessert in Minutes.” Happy baking!
FAQs
Here are some frequently asked questions about making the perfect **Easy Chocolate Lava Cake Recipe**:
Q: Can I prepare the batter ahead of time?
A: Yes! You can prepare the batter up to 24 hours in advance and store it, covered, in the refrigerator. Allow it to come to room temperature for about 15-20 minutes before pouring into ramekins and baking. You can also freeze unbaked batter in greased ramekins for up to 2 weeks, baking directly from frozen (see storing tips above).
Q: How do I know when the lava cakes are perfectly baked?
A: The edges of the cake should appear set and slightly firm to the touch, but the center should still be visibly jiggly when you gently shake the ramekin. This jiggle indicates the molten center is still liquid. If the entire cake feels firm, it’s likely overbaked.
Q: What kind of chocolate is best for lava cakes?
A: Bittersweet chocolate (around 60-70% cocoa solids) is highly recommended for its rich, deep flavor that balances the sweetness. High-quality dark chocolate also works well. Avoid milk chocolate as it’s too sweet and won’t have the same depth of flavor, nor will it create the desired flowing consistency as effectively.
Q: My lava cake didn’t have a molten center. What went wrong?
A: The most common reason for a non-molten center is overbaking. Every oven is different, so it’s crucial to start checking your cakes at the lower end of the baking time (12 minutes). Another factor could be using ramekins that are too wide or too shallow, causing the batter to cook through faster.
Q: Can I make this in a muffin tin instead of ramekins?
A: While possible, a muffin tin will likely result in smaller, quicker-baking cakes. You’ll need to adjust baking time down to probably 8-10 minutes and ensure the tin is very well-greased and floured. The classic lava cake presentation is best achieved in ramekins.
Q: What if I don’t have fresh berries for serving?
A: No problem! A simple dusting of powdered sugar, a dollop of whipped cream, a scoop of ice cream, or even just a drizzle of chocolate sauce (from leftover melted chocolate) are all delightful alternatives. The beauty of this **Easy Chocolate Lava Cake Recipe** is its versatility!